There are so many things or devices used in technical work. In the era of 2021, technology is much faster, and we can make things at home very easily. Chicken plucker is the most common handheld device that is used to pluck chicken feathers. You can buy it from the market ranging from a minimum of 26$ or a maximum of 30$. However, you can easily make it at home by following the mentioned steps. Before this, you need to gather the required stuff that is listed below.
Apparatus to Make a Chicken Plucker at Home
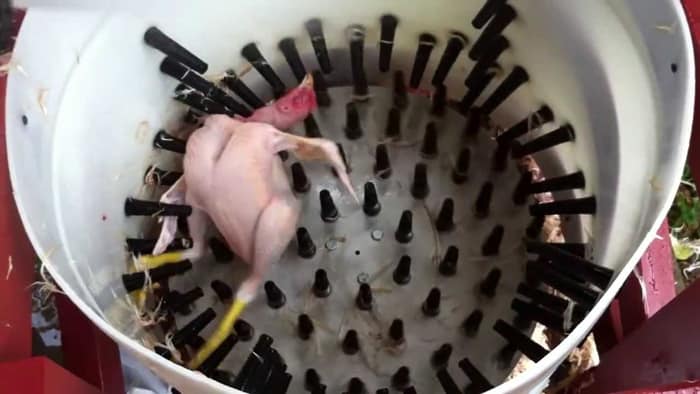
For making chicken plucker, the material list is:
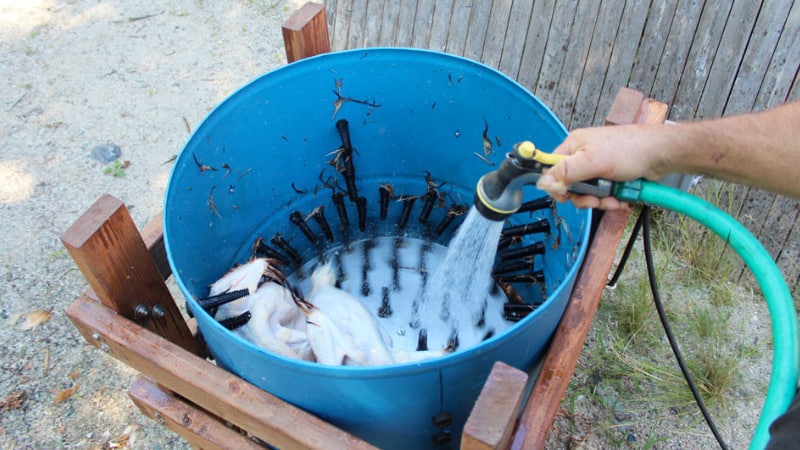
- Motor Pulley
- PVC caps
- Pillow block bearing
- Galvanized
- pipe
- Bolts
- Locknuts
- Drilled machine
- Electric motor
- Long PVC joint
- Wheel stopper
- Hot water
- Chicken pluckers
- Chicken nipple drinkers
- Grinder
- Sandpaper
- Washer
You need all these apparatus in the processing of chicken plucker, making sure that the machine is on a flat surface. Ensure that the water temperature is high during the plucking, helping you easily remove feathers.
Procedure to Make a Chicken Plucker at Home
Step:1
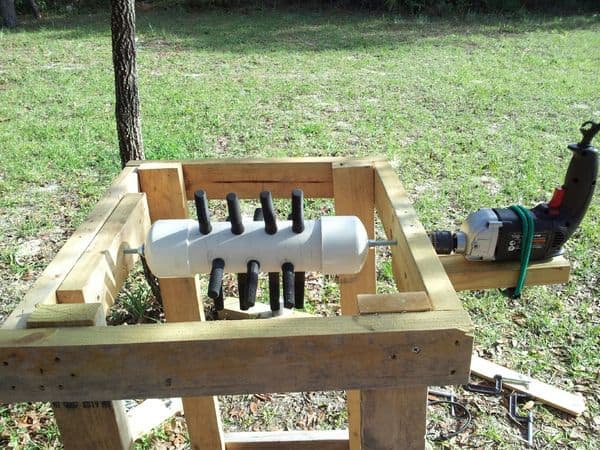
Take a 4-inch PVC cap, 12 inches long bolt, 11 bunching straps/galvanized pipe, nuts, and washer in the first step. Make 3- inch hole in the center of the PVC cap to mark the center point. You can easily get a perfect hole in the PVC cap with a drilled machine by drilling the marked area.
Step: 2
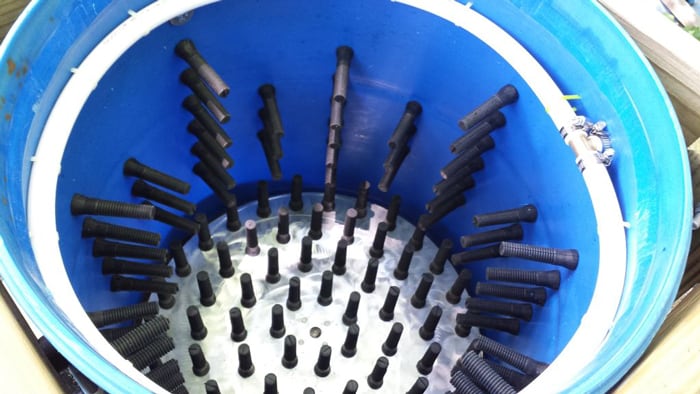
The next thing to do is to maintain a two fingers gap around the PVC cap. Mark the eight lines in the horizontal direction and mark three lines in the vertical direction by maintaining this two fingers gap. Now drill the marked area one by one. You will get almost 16 holes.
Step: 3
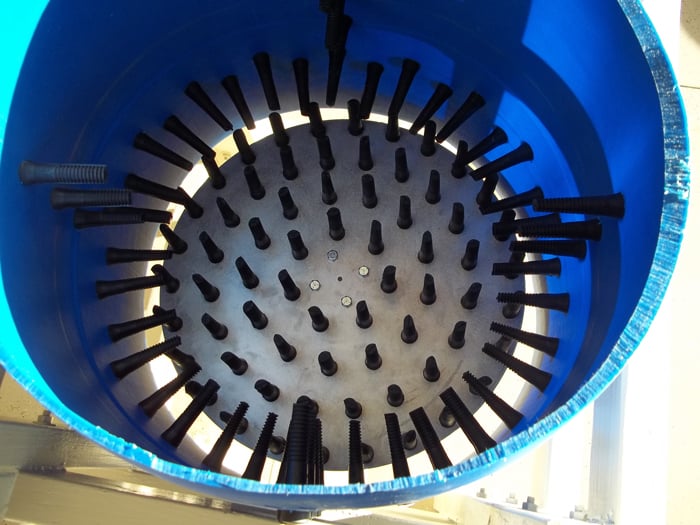
Put the bunching straps/galvanized pipe through the 16 holes one by one. Then, cut the straps with the help of a cutter. The strap size should be 4 inches.
Step: 4
Set your apparatus on the plane surface. Attach the assembled PVC pipe and galvanized joints inside the cap. Take the bolt and make a hole in it with the help of a drill. Stick that bolt inside the PVC cap screwing it with the nuts. Use a grinder weld to attach the pulley to the back of the galvanized pipe. After that, apply the wheel stopper to check if the machine is rolling or not.
Step: 5
Now wash the chicken in hot water of about 155 degrees temperature. Turn on the machine and make sure the rolling speed is faster. Now, it is time to put the (dead) chicken with feathers into the plucker.

Step: 6
Put the chicken into the highly rotating chicken plucker. Remember that the machine is stable on a flat surface. The chicken will start rolling speedily with the plucker, and you have to pour hot water on it at this time. The machine will de-feather the chicken within 1 minute or less. Chicken plucking is a very quick process. It just takes a little time when you are making the chicken plucker machine.
Precautions to Take
Once you are done making the chicken plucker, you have to put the chicken in it, but for this, you need to take the following precautions:
- The chicken you are putting is not alive, but you must confirm before throwing it into the rotating chicken plucker.
- The chicken should be completely bled and scaled.
- Before putting the chicken, you must turn on the machine and check the rolling speed.
- The power supply should be higher; otherwise, the chicken can get stuck within the machine.
- Also, make sure the machine is on a stand with a flat surface.
- Check the connection properly so that the machine may not stop during the plucking process.
- It would be best if you wear gloves.
- Don’t touch anything with wet hands.
- Turn off the machine immediately after the de-feathering is completed.
- Keep the children away from the machine.
- Clean up all the things and sanitize them.
Conclusion
Chicken plucker is the most common handheld device which you can use to pluck chicken feathers. You can buy it from the market or also make it at home to save the budget. In this article, there is a step-by-step guide to make a chicken plucker at home.